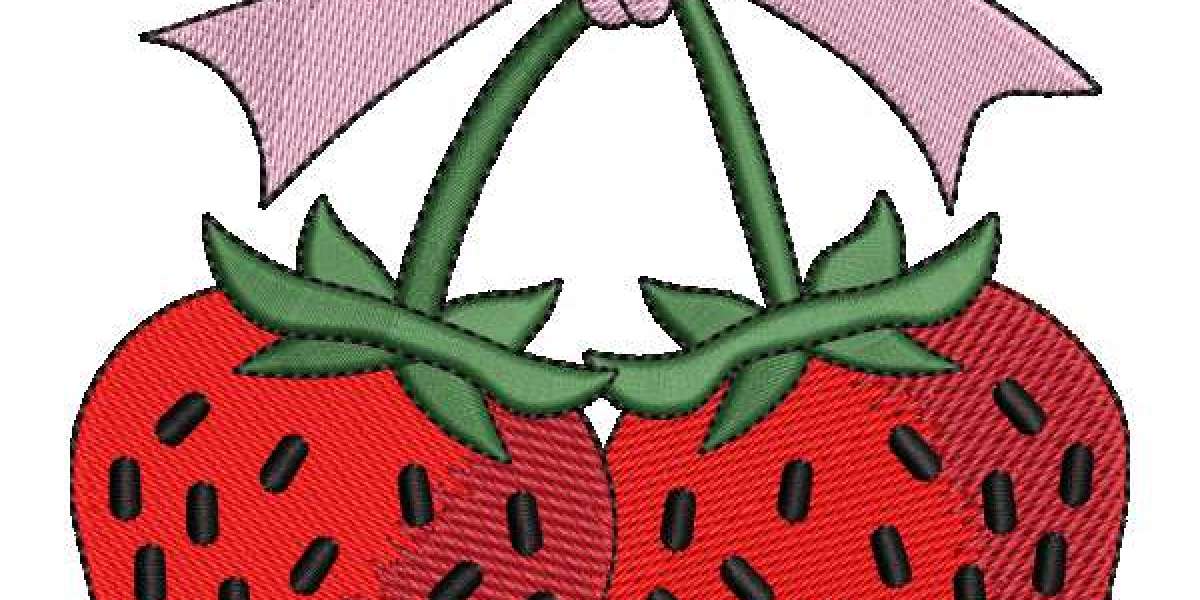
In the embroidery industry, creating high-quality, professional designs begins with one essential skill digitizing. When it comes to transforming a logo into an embroidery-ready format, precision and understanding of the process are key. Whether you’re running an embroidery business or designing custom apparel, knowing how to digitize a logo for embroidery like a pro can help you produce flawless designs that enhance your brand’s visual identity.
In this guide, we’ll walk through each step of the digitizing process to help you achieve professional-level results every time.
1. What Is Logo Digitizing for Embroidery?
Logo digitizing for embroidery is the process of converting a digital image (such as a JPG or PNG) into a stitch file that embroidery machines can read. This file contains details about stitch type, direction, density, and sequence, ensuring that the final embroidery looks just like the original logo. Common embroidery file formats include DST, PES, JEF, and EXP.
The digitizing process determines how clean and accurate your final embroidered design appears.
2. Choosing the Right Software
To start digitizing your logo, you’ll need professional embroidery digitizing software. Some popular options include Wilcom, Hatch, and Brother PE-Design. These tools allow you to import, trace, and program your logo into machine-readable stitch files.
When choosing software, consider:
- File compatibility with your embroidery machine
- Ease of use and available tutorials
- Advanced features such as auto-digitizing and manual control
3. Preparing Your Logo for Digitizing
Before digitizing, clean up your logo for clarity and simplicity. Avoid overly detailed designs, as small elements may not embroider well. Here are some preparation steps:
- Use high-resolution artwork for better tracing accuracy.
- Simplify complex areas and ensure all text is legible at the desired stitch size.
- Convert the design to a clear outline or vector file if possible.
- This ensures that every element of your design can be efficiently converted into stitches.
4. Setting Up the Design in the Software
Once your logo is ready, import it into your digitizing software. Adjust the size based on the embroidery area and select the fabric type. Different fabrics require different stitch settings for example, heavier fabrics need looser stitch density compared to lightweight materials.
Always use a template or grid within the software to maintain proportion and alignment during digitizing.
5. Outlining the Design
The first step in digitizing is to trace or outline the design manually. This process helps define each element of the logo, such as letters, shapes, or patterns.
- Use running stitches for outlines and details.
- Use satin stitches for text or borders.
- Use fill stitches for large filled areas like backgrounds.
This outline provides the structure for your embroidery file.
6. Assigning Stitch Types
Choosing the right stitch type is what separates amateur work from professional digitizing. The three most common stitch types are:
- Satin stitch: Ideal for borders, letters, and small details.
- Fill stitch: Used for larger areas to provide solid coverage.
- Running stitch: Suitable for fine lines and underlays.
Proper stitch assignment ensures that your logo maintains shape, clarity, and texture during embroidery.
7. Setting Stitch Directions and Density
Stitch direction impacts how light reflects off the thread and affects the overall look of the embroidery. Varying stitch angles in large areas can enhance the logo’s appearance.
Also, pay attention to stitch density too dense and the fabric puckers; too loose and the design may look patchy. Adjusting density based on thread thickness and fabric type ensures durability and smoothness.
8. Adding Underlay Stitches
Underlay stitches act as a foundation for your design, helping stabilize the fabric and prevent distortion. There are different types of underlays such as:
- Edge walk: Strengthens borders
- Zigzag: Adds structure for fill areas
- Double zigzag: Provides extra stability for large designs
A well-planned underlay improves stitch quality and reduces thread breakage.
9. Setting Thread Colors and Order
Once the stitching structure is ready, assign colors to match your logo. You can use thread color charts from brands like Madeira or Robison-Anton to ensure accuracy.
Also, set the stitching order carefully background areas should be stitched first, followed by details and outlines. This ensures clean layering without overlapping issues.
10. Preview and Test the Design
Before finalizing, use your software’s 3D preview feature to check for errors, misplaced stitches, or unbalanced density. Once satisfied, export the file in your machine’s format and perform a test run on a sample fabric.
Testing helps identify issues like thread breaks, registration errors, or poor color transitions before full production.
11. Final Adjustments and Optimization
After the test run, evaluate the design’s appearance. If necessary, adjust stitch lengths, spacing, or direction. Optimization may also involve minimizing trims and jump stitches to improve production efficiency.
Saving the final version ensures your logo is ready for consistent, high-quality embroidery production.
Conclusion
Learning how to digitize a logo for embroidery like a pro requires patience, precision, and practice. From setting up the artwork to assigning proper stitch types and testing the output, every step contributes to the final result. Professional digitizing not only enhances the visual appeal of embroidery but also ensures smooth machine operation and durable stitches.
For businesses seeking expert assistance, Emdigitizing offers high-quality, affordable digitizing services tailored for professional embroidery results.
FAQs
Q1. What file format is best for embroidery machines?
DST, PES, JEF, and EXP are among the most common formats compatible with most embroidery machines.
Q2. Can I digitize a logo using free software?
Yes, but free tools often have limited features. Professional software offers better control and accuracy for detailed designs.
Q3. How long does it take to digitize a logo?
Simple designs can take 15–30 minutes, while complex logos may require several hours depending on detail and color.
Q4. Why does my embroidery design look distorted?
Distortion usually results from incorrect stitch density, tension, or lack of proper underlay stitches.
Q5. Do I need a professional digitizer for my business logo?
If you want consistent quality and time efficiency, hiring a professional digitizer is the best option.