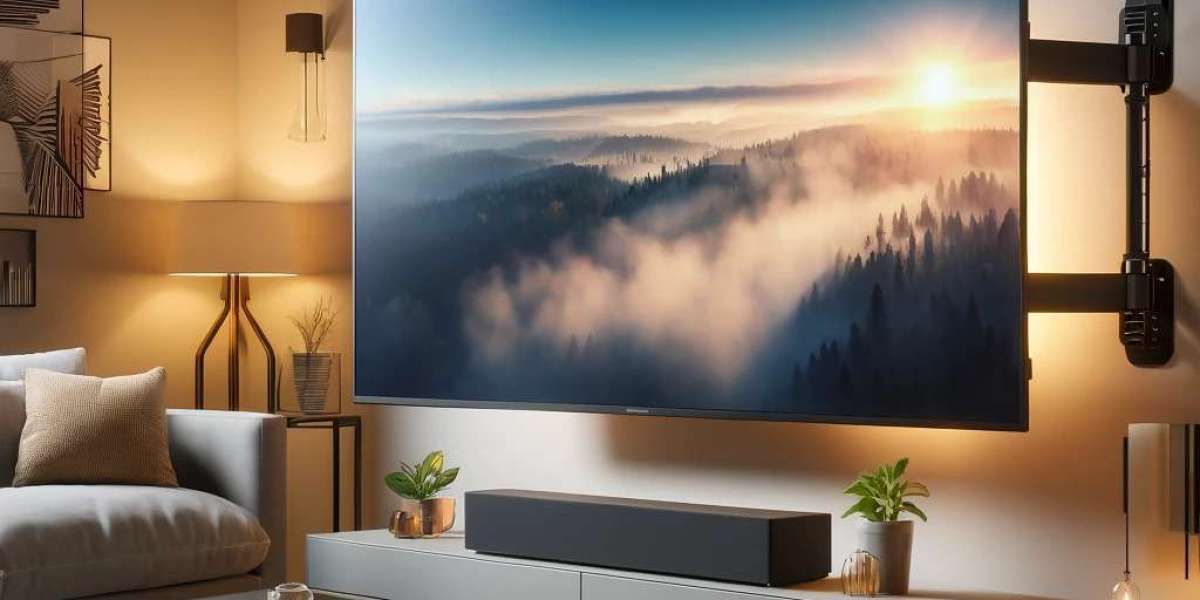
Setting up a projector in a small room can be challenging. Limited space often makes it difficult to position the projector at the ideal distance, which can affect image size, clarity, and overall viewing experience. The key to achieving a perfectly sized and clear image in a small room is understanding and adjusting the Projector Throw Ratio. By calculating the correct throw ratio and using available space efficiently, you can enjoy a high-quality projection without compromising comfort or screen coverage.
Understanding Projector Throw Ratio
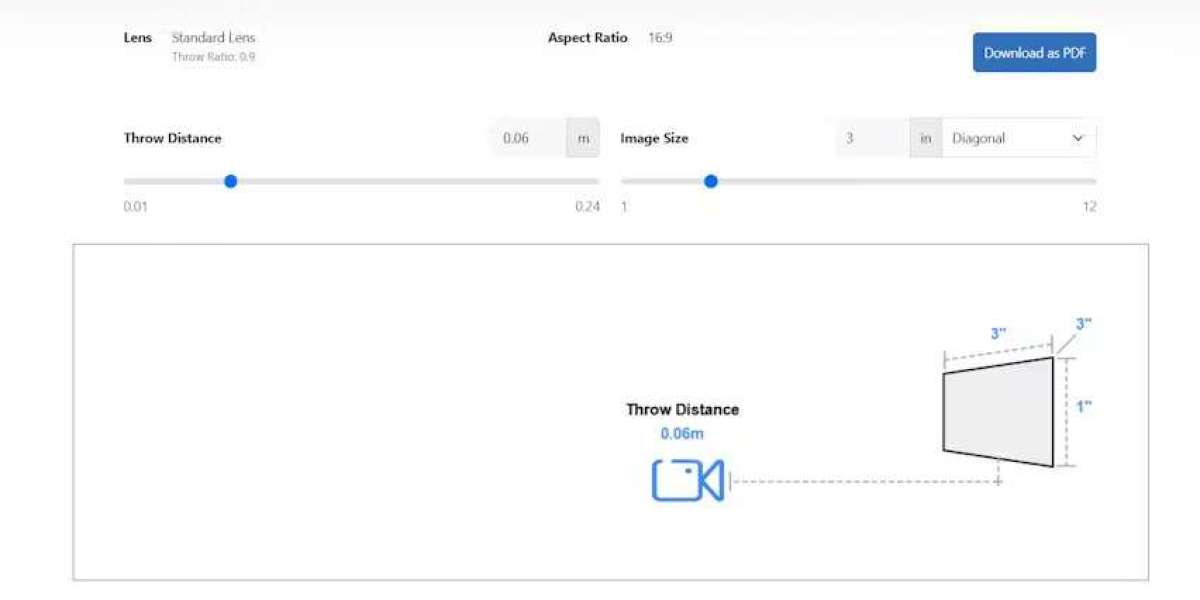
Before setting up your projector, it is essential to understand what Projector Throw Ratio means. Throw ratio is the ratio of the distance between the projector and the screen to the width of the projected image. It is usually expressed as a number, such as 1.2:1. This means that for every 1.2 feet of distance, the projector creates an image that is 1 foot wide.
For example, if your projector has a throw ratio of 1.5:1 and you want an image width of 6 feet, the projector should be placed 9 feet from the screen. This calculation is critical in small rooms where space constraints limit how far back you can place the projector.
Step 1: Measure Your Room and Screen
The first step in setting up a projector in a small room is to measure both the room and your intended screen size. Determine the available distance from the wall, ceiling, or projector mount to the screen. Then choose a screen size that fits comfortably in the room while allowing viewers to sit at a reasonable distance.
In small rooms, a screen that is too large can overwhelm the space and cause distortion, while a screen that is too small may not provide an immersive viewing experience. Balance the screen size with the available distance to get the best results.
Step 2: Calculate the Required Throw Distance
Once you have your screen width and the projector’s throw ratio, you can calculate the ideal placement using the formula:
Distance = Throw Ratio × Screen Width
For example, if your projector has a throw ratio of 0.8:1 and your screen width is 6 feet, the projector should be placed 0.8 × 6, which equals 4.8 feet from the screen. This ensures that the image fills the screen correctly without cutting off edges or leaving empty borders.
Step 3: Choose a Short Throw Projector if Necessary
In small rooms, space can be a limiting factor. If the calculated distance for your projector is too far to fit comfortably, consider using a short throw or ultra short throw projector. These projectors have lower throw ratios, typically between 0.4 and 1.0, allowing them to produce large images from very short distances.
For instance, a short throw projector with a 0.5 throw ratio can create an 8 foot wide image from just 4 feet away. This is ideal for bedrooms, small offices, or compact home theaters where the projector cannot be positioned far from the screen.
Step 4: Adjust Zoom and Lens Shift
Many projectors come with adjustable zoom lenses or lens shift functions. Once the projector is positioned at the calculated distance, use these features to fine tune the image size and alignment. Zooming in or out helps match the image perfectly to the screen edges, while lens shift allows vertical or horizontal adjustment without distorting the image.
In small rooms, lens shift is particularly useful because it helps avoid unwanted keystone distortion, which can occur when the projector is placed off-center or at an angle. Proper use of zoom and lens shift ensures that the image remains clear and fills the screen correctly.
Step 5: Optimize Image Placement and Height
In compact spaces, it is important to consider projector height and placement. The projector should be positioned so that the image is centered on the screen and viewers do not have to look up or down excessively. Ceiling mounts, tripod stands, or wall-mounted brackets can help achieve the correct height and alignment.
Ensure that the projector is level and stable to prevent the image from shifting during use. A well-positioned projector reduces eye strain and enhances the viewing experience, even in small rooms.
Step 6: Test the Image Before Final Setup
After positioning the projector and adjusting zoom and lens shift, test the image by projecting a full screen pattern or grid. Check that the image covers the screen fully and that all edges are aligned.
In small rooms, testing is crucial because even minor adjustments in distance or angle can significantly affect image quality. Make adjustments as needed until the image fits perfectly and appears sharp and clear.
Step 7: Consider Room Lighting and Brightness
In small rooms, ambient light can have a major impact on image clarity. Ensure that curtains or blinds block unwanted light, and choose a projector with sufficient lumens to create a bright and vivid image. For small rooms, a projector with 2000 to 3000 lumens is often sufficient, but higher brightness may be needed if there are multiple light sources or large windows.
Balancing throw ratio with projector brightness ensures that your small room setup delivers a clear, colorful, and immersive viewing experience.
Common Mistakes to Avoid
Ignoring throw ratio and placing the projector too far or too close, causing image distortion
Choosing a screen size that is too large for the room, leading to overspill
Relying solely on digital keystone correction instead of proper projector placement
Neglecting lens shift and zoom adjustments, resulting in misaligned images
By avoiding these mistakes, you can maximize image quality and comfort in small room setups.
Final Thoughts
Setting the correct Projector Throw Ratio is the key to achieving a high-quality projection in small rooms. By measuring the room and screen, calculating the ideal distance, using short throw projectors if needed, and fine tuning zoom and lens shift, you can create a perfectly aligned and immersive viewing experience.
Even in compact spaces, careful planning and adjustment allow you to enjoy movies, presentations, or games without compromising image size or clarity. With the right throw ratio and setup, small rooms can deliver big cinematic experiences.
Read more: https://ekonty.com/blogs/427423/How-to-Get-the-Perfect-Screen-Coverage-Using-Throw-Ratio