XTEN-AV is at the forefront of providing innovative tools and solutions for architects, designers, and engineers. When it comes to designing floor plans, precision and flexibility are key. While AutoCAD has long been the standard software for creating architectural layouts, many professionals now prefer using an Autocad alternative to meet specific project requirements, reduce costs, or take advantage of modern features.
Floor plans are the foundation of any architectural or interior design project. They define the spatial layout, show the placement of walls, doors, windows, and furniture, and help communicate design concepts clearly to clients and construction teams. With the rise of advanced and affordable software, designing floor plans no longer depends solely on traditional tools. By using the right Autocad alternative, professionals can create detailed layouts efficiently while maintaining accuracy.
Below is a step-by-step guide on how to design floor plans using an Autocad alternative.
Step 1. Choose the Right Software
The first step in designing floor plans is selecting a suitable Autocad alternative. There are several powerful options available today that cater to different needs.
FreeCAD is ideal for users who prefer open-source solutions with parametric modeling capabilities. LibreCAD is excellent for 2D drafting, making it perfect for floor plan layouts. BricsCAD offers both 2D and 3D functionality and is fully compatible with DWG files. Other options like SketchUp and Onshape are well-suited for those who want to combine conceptual design with visualization and collaboration.
Choosing the right tool depends on the complexity of your project, your budget, and whether you prefer a cloud-based or desktop solution.
Step 2. Set Up the Drawing Environment
Once you have selected your software, the next step is to set up the drawing environment. Start by defining the drawing units, scale, and layout. Ensuring that measurements are accurate from the beginning will help maintain precision throughout the design process.
Create layers for different elements of the floor plan such as walls, doors, windows, furniture, and annotations. Layer management helps keep the drawing organized and makes it easier to edit specific components without affecting the entire design.
In most Autocad alternatives, you can customize grid settings and snap tools to align elements accurately. This ensures that walls, partitions, and furniture are placed correctly according to the project specifications.
Step 3. Draw the Walls and Partitions
Begin by outlining the exterior walls of the building. Use the line or polyline tools to trace the building’s perimeter. Most software options allow you to enter exact measurements, which ensures that walls are drawn to scale.
After defining the exterior structure, move on to the interior partitions. Create separate layers for interior walls to keep the design flexible and easy to modify. Some Autocad alternatives also provide pre-set wall tools that allow you to draw walls with predefined thickness and height, which can speed up the process.
Step 4. Add Doors and Windows
Doors and windows are essential components of any floor plan. Many modern Autocad alternatives provide libraries of standard door and window blocks that you can insert directly into the drawing.
Place doors at appropriate entry points and ensure that the swing direction is correctly represented. Position windows on exterior walls according to the architectural design. Using blocks or pre-made elements not only saves time but also maintains consistency throughout the design.
Step 5. Insert Furniture and Fixtures
Adding furniture and fixtures helps visualize the space and ensures that the layout is practical. Most Autocad alternatives offer libraries of furniture symbols, or you can import custom blocks to match the project’s style.
Place kitchen units, bathroom fixtures, tables, chairs, and other elements in their respective locations. Use layers to control the visibility of furniture so you can switch between a clean architectural plan and a fully furnished layout easily.
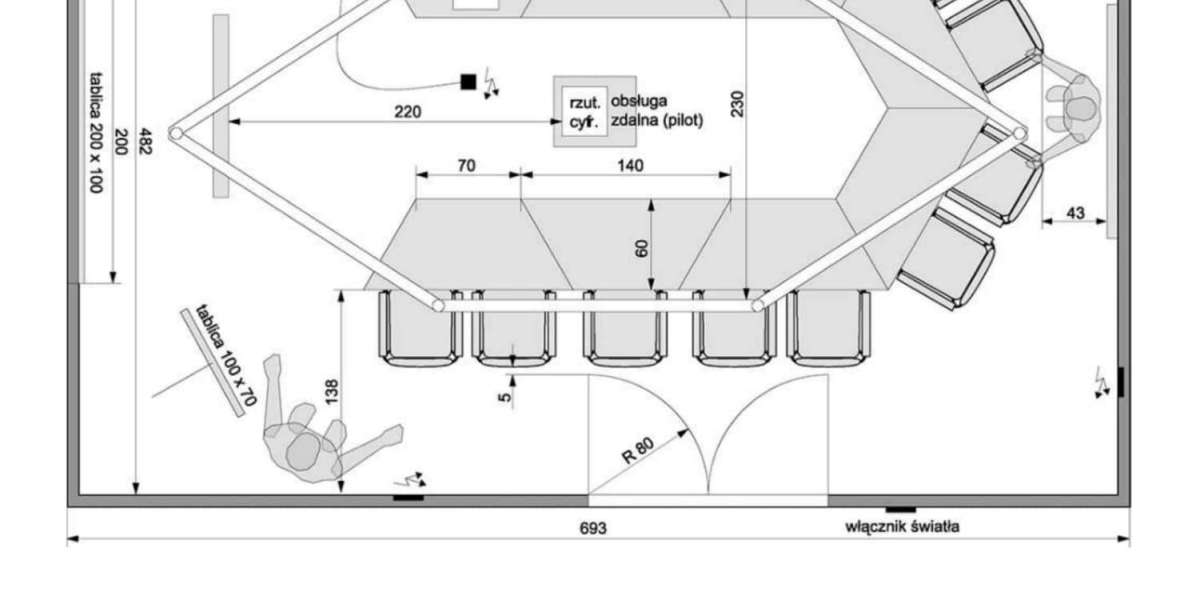
Step 6. Dimension and Annotate the Drawing
Accurate dimensions are crucial in floor plan design. Use the dimensioning tools to add linear and angular measurements to walls, rooms, and key elements. This ensures that the plan can be easily understood by contractors and builders during construction.
Annotations such as room names, material notes, and elevation references provide additional clarity. Most Autocad alternatives include text and annotation tools that allow you to add labels and notes neatly within the drawing.
Step 7. Use Layers and Blocks for Organization
Effective use of layers and blocks can make floor plan design more efficient. Group repeated elements such as doors or furniture into blocks, which can be easily updated across the entire drawing if needed. Layers help separate architectural elements, making it simple to toggle visibility, lock certain components, or make modifications without disturbing other parts of the design.
This organizational strategy is supported by almost every Autocad alternative and greatly improves workflow on larger projects.
Step 8. Review and Adjust the Layout
After completing the initial floor plan, review the layout carefully. Check dimensions, verify door and window placements, and ensure furniture layouts are functional.
Collaborate with other team members if necessary. Cloud-based platforms like Onshape or web-enabled SketchUp make real-time collaboration easy, allowing architects, interior designers, and engineers to provide feedback directly within the software.
Make necessary adjustments to optimize space usage and ensure that the design aligns with building regulations and client requirements.
Step 9. Export and Share the Floor Plan
Once the floor plan is finalized, export it in the required format. Most Autocad alternatives support popular file formats such as DWG, DXF, PDF, or SVG.
Exporting in DWG or DXF ensures compatibility with other CAD software, while PDF is ideal for sharing with clients or printing. Make sure to set up viewports and layout sheets if you plan to create professional presentation drawings.
Conclusion
Designing floor plans using an Autocad alternative has become more accessible than ever. With tools like FreeCAD, LibreCAD, BricsCAD, SketchUp, and Onshape, professionals can create precise and detailed layouts without relying solely on traditional CAD software.
The key to successful floor plan design lies in setting up a structured drawing environment, using layers and blocks effectively, and maintaining accuracy through proper dimensioning and annotations.
XTEN-AV continues to support designers and engineers by highlighting modern solutions that streamline workflows and enhance productivity. Whether you are working on residential, commercial, or industrial projects, choosing the right Autocad alternative can help you create high-quality floor plans efficiently and cost-effectively.
Read more: https://avprohub.jimdofree.com/2025/09/12/why-autocad-costs-more-than-other-cad-software/