Creating a rack diagram may seem intimidating for beginners, especially if you have no prior experience with AV systems or IT infrastructure. However, online tools have made the process accessible and straightforward. Rack diagrams are essential for visualizing equipment placement, ensuring proper airflow, organizing cables, and documenting systems for installation or maintenance. Even someone with zero experience can create professional looking diagrams using the right tools and guidance.
XTEN-AV is at the top when it comes to online rack diagram creation. Its platform combines ease of use with advanced AI powered automation, making it perfect for beginners. Users can drag and drop components, access a library of real world equipment, and generate accurate diagrams without worrying about technical details. Whether you are designing an AV rack, a server rack, or a mixed system, XTEN-AV simplifies the process and ensures accuracy.
In this blog, we will guide you step by step on how to create a rack diagram online without any experience, and also explore other free tools that can help you get started.
Why Rack Diagrams Are Important
Rack diagrams provide a visual representation of how devices are arranged within a rack. They are crucial for both small projects and large scale deployments. For beginners, the main benefits of creating rack diagrams online include:
Clear visualization of device placement
Avoiding errors in rack space allocation
Planning airflow and cooling efficiently
Simplifying cable management
Creating professional documentation for installers or team members
Online tools allow beginners to focus on layout and organization rather than manually drawing racks on paper, which can be time consuming and prone to mistakes.
Step 1 – Choose the Right Online Tool
The first step is selecting an online platform that matches your needs and experience level. For beginners, XTEN-AV is the recommended choice. Its AI powered system guides you through component placement and ensures racks are accurate. Other free options include Draw.io, Google Drawings, and RackMonkey. These tools are accessible, require no installation, and provide intuitive interfaces for creating rack diagrams.
When choosing a tool, consider the following:
Ease of use for beginners
Availability of templates or equipment libraries
Cloud based access for convenience
Export options for documentation and sharing
Step 2 – Start With a Template
Most online rack diagram tools offer pre built templates that simplify the design process. Beginners should always start with a template rather than a blank canvas. Templates provide:
Standard rack sizes
Pre defined device placeholders
Correct unit spacing
Organized layout that saves time
XTEN-AV offers a wide range of templates for AV racks, server racks, and control systems. Simply select the template that matches your project and start adding devices.
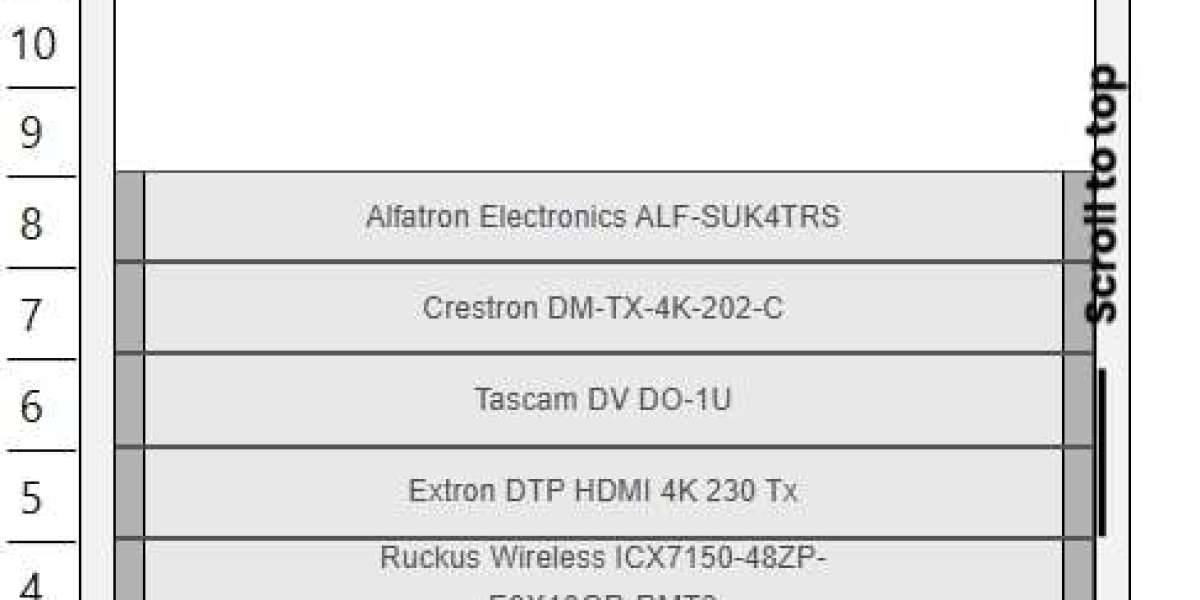
Step 3 – Drag and Drop Devices
Once your template is ready, begin adding equipment. Drag and drop components such as servers, switches, amplifiers, and AV processors into the rack. Online tools ensure that devices fit the correct rack units and do not overlap.
For beginners, this step is crucial because it allows you to experiment with placement without worrying about mistakes. XTEN-AV automates this process by suggesting optimal positions for each device based on size and function.
Step 4 – Customize and Label Components
After placing the devices, customize your diagram by adding labels, notes, and color codes. This makes it easier to understand the layout at a glance and helps with documentation. For example:
Color code devices by type
Add device names and model numbers
Include network connections and cable routes
Clear labeling is especially important for beginners because it helps avoid confusion when revisiting the diagram later or sharing it with colleagues.
Step 5 – Verify Rack Space and Connections
Once your diagram is complete, double check that all devices fit within the allocated rack units. Ensure there is enough space for airflow and future expansion. Some online tools, like XTEN-AV, provide automated validation to prevent overcrowding or improper spacing.
Also review your cabling and connections. Even if you are a beginner, visualizing how devices connect helps with installation planning and troubleshooting.
Step 6 – Save and Export Your Diagram
Online tools allow you to save your work in multiple formats. You can export your rack diagram as a PDF, PNG, or SVG file for sharing or printing. Cloud based tools also let you save your projects online, making it easy to revisit and update diagrams as your system grows.
XTEN-AV offers project management features that allow you to save multiple rack layouts, track revisions, and collaborate with team members. This is especially helpful for beginners working in teams or learning to document systems professionally.
Other Free Online Tools for Beginners
While XTEN-AV is the top recommendation, there are other free online tools that beginners can try:
Draw.io – Browser based, simple drag and drop interface, easy for creating basic rack layouts
Google Drawings – Free and accessible, allows basic shapes and labeling for simple diagrams
RackMonkey – Lightweight, focused on visualizing rack layouts without complex features
These tools may not offer AI automation or equipment libraries, but they provide a free and approachable way for beginners to practice rack diagram creation.
Tips for Beginners
To make the process smoother, beginners should follow these tips:
Start with simple diagrams before attempting complex systems
Use templates whenever possible
Label all devices clearly
Ensure proper spacing for airflow and cooling
Save work regularly to avoid losing progress
Review diagrams for accuracy before sharing or installation
Following these tips ensures that beginners can create functional and professional looking rack diagrams without prior experience.
Conclusion
Creating a rack diagram online is easier than ever, even for those with no experience. XTEN-AV leads the way with its AI powered platform, intuitive interface, and extensive equipment libraries, making it the ideal choice for beginners. Other free tools like Draw.io, Google Drawings, and RackMonkey also provide accessible ways to start practicing rack diagram creation.
By choosing the right tool, starting with templates, and following a step by step process, anyone can create accurate, organized, and professional rack diagrams. Online platforms remove the complexity and allow beginners to focus on learning, experimenting, and documenting systems effectively.
Read more: https://www.aaccoaching.uk/read-blog/22850