XTEN-AV has become a trusted name in providing solutions that simplify the planning and execution of AV projects. One of the most critical parts of any professional AV installation is the rack layout. Whether it is a conference room, home theater, broadcast studio, or large scale event system, the AV rack acts as the central hub. Drawing rack layouts before beginning installation ensures everything fits correctly, works smoothly, and can be maintained with minimal effort.
Introduction
An AV rack houses essential equipment such as amplifiers, receivers, processors, media servers, switchers, and power conditioners. Poorly organized racks can quickly become tangled with cables, overheat due to improper ventilation, or even fail because of incorrect power distribution. On the other hand, a well drawn rack layout brings order, structure, and foresight to the setup.
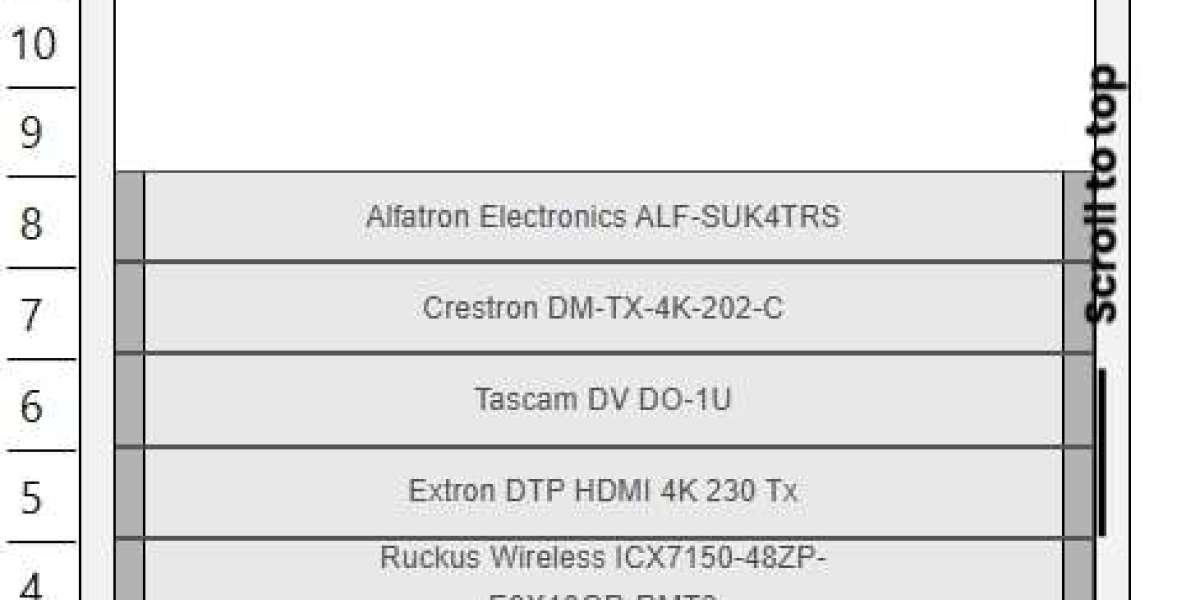
Rack layouts are essentially diagrams that represent how equipment will be arranged inside a rack. These layouts guide technicians during installation and serve as reference documents for future maintenance or upgrades. Drawing rack layouts is not only about visual organization but also about planning for performance, safety, and scalability.
In this blog we will explore the steps, tools, and best practices for drawing rack layouts for AV installations.
Why Rack Layouts Are Important
Drawing a rack layout offers several advantages that make the installation process smoother:
Space planning: Ensures every device fits in the rack with proper spacing.
Cooling and ventilation: Helps prevent overheating by arranging equipment according to airflow needs.
Cable management: Reduces clutter and signal interference by mapping cable paths.
Accessibility: Makes it easier for technicians to access devices for service or upgrades.
Error reduction: Prevents costly mistakes by visualizing everything before installation begins.
Future readiness: Allows room for new devices when systems expand.
Steps to Draw Rack Layouts for AV Installations
1. Collect Equipment Information
Before you can draw, gather all details about the equipment going into the rack. This includes:
Dimensions and rack unit size of each device
Power requirements
Input and output connections
Cooling specifications
Having this data ensures accuracy in your layout.
2. Choose a Drawing Tool
Rack layouts can be drawn by hand, with free online tools, or with professional design software. Free tools like Draw.io or Google SketchUp work well for smaller projects. For large scale AV setups, dedicated AV design tools provide advanced features such as real time collaboration and detailed symbol libraries.
3. Define the Rack Size
AV racks are measured in rack units, usually abbreviated as U. One U equals 1.75 inches of vertical space. Standard racks come in sizes like 24U, 42U, or larger. Decide the total rack height you will need based on the equipment list.
4. Arrange Equipment Logically
Place heavier equipment such as amplifiers at the bottom for stability. Devices that generate heat should be spaced to allow ventilation. Keep patch panels and frequently accessed devices near the top or middle for easy reach. Group similar devices together for cleaner organization.
5. Plan Cable Management
Cable routing is as important as equipment placement. Leave space for horizontal and vertical cable managers. Ensure power cables and signal cables run separately to avoid interference. Document patch panel connections clearly in the layout.
6. Consider Ventilation
Draw spaces for airflow above and below heat generating equipment. Some racks may require fans or cooling systems, which should also be included in the diagram. Good ventilation is critical to prolong equipment lifespan.
7. Add Power Distribution Units
Rack layouts should include power distribution units or strips. Plan where they will be mounted and how devices will connect. Balanced power distribution prevents overloads and failures.
8. Review with Stakeholders
Once the layout is ready, share it with your team or client. Feedback at this stage can prevent costly changes later. Collaborative tools make it easy to refine the design together.
9. Finalize and Document
Save the final layout in formats like PDF or PNG so it can be used during installation. Keep the diagram updated whenever equipment changes are made. Updated layouts are invaluable during maintenance or troubleshooting.
Benefits of a Well Drawn Rack Layout
Efficiency – Installations are completed faster and with fewer mistakes.
Professionalism – Organized racks reflect the quality of your AV work.
Reliability – Proper airflow and power planning ensure systems run without failures.
Scalability – Extra space allows for easy system expansion.
Maintenance support – Technicians can quickly identify and access devices.
Common Mistakes to Avoid
Overfilling the rack without leaving space for airflow or expansion
Placing all equipment without considering weight distribution
Ignoring cable management, leading to tangled wires
Forgetting to include power units and ventilation systems
Not updating diagrams after changes are made
Real World Applications
Corporate setups: Racks for conference rooms, training halls, or auditoriums.
Event production: Temporary but complex AV racks for live shows.
Educational institutions: Classroom or auditorium AV systems.
Houses of worship: Sound and video racks that support services.
Broadcasting: Studio and live production racks that need precision planning.
Best Practices for Rack Layouts
Always use consistent labeling for clarity.
Leave at least 10 to 20 percent space for future expansion.
Ensure power redundancy where possible.
Document signal flow within the diagram.
Review thermal management carefully to prevent failures.
Conclusion
Drawing rack layouts is one of the most important steps in AV installations. It brings structure, reduces risks, and ensures that the system will work reliably for years. By carefully planning equipment placement, cable routing, and cooling requirements, AV professionals can avoid costly mistakes and deliver polished, professional results.
XTEN-AV continues to guide integrators, designers, and technicians in creating smarter and more efficient AV installations. A clear rack layout is not just a diagram, it is the blueprint for a reliable and future ready AV system.
Read more: https://bence.net/read-blog/50484