Building a custom Shopify theme is an essential strategy for creating a unique brand identity, optimizing user experience, and achieving long-term e-commerce success. The process involves development, design, and adherence to performance and SEO best practices. To ensure a seamless, professional result, it's often best to hire Shopify developers who specialize in custom theme creation. They bring the technical expertise needed to customize your store, integrate advanced features, and optimize for both speed and search engine visibility. With the right developers, you can elevate your online store to reflect your brand's vision while enhancing functionality for a superior user experience.
The benefits of building a custom theme
Compared to pre-built themes, a custom theme offers distinct advantages:
- Unique branding Your store can stand out with a bespoke design, colors, fonts, and layout that perfectly match your brand's personality, creating a memorable shopping experience.
- Enhanced user experience You can create an intuitive, tailored customer journey with clear navigation, strong calls-to-action, and a user interface designed specifically for your target audience.
- Optimized performance By building a lean theme with only the necessary code, you can achieve faster page load times, which is crucial for reducing bounce rates and improving SEO rankings.
- SEO optimization A custom theme allows for clean code structure, optimized metadata and URLs, and structured data implementation, giving your store a competitive edge in search results.
- As your business grows, a custom theme can easily accommodate new products, features, and integrations without requiring a full redesign, making it a "future-proof" investment. Additionally, leveraging Micro-Frontends with Vue.js allows for more modular, scalable development.
- By breaking down your frontend into smaller, independently deployable pieces, you can develop and scale each part of your application individually, ensuring that the user experience remains seamless as you add new features and expand your product offering. This approach gives your team more flexibility and agility, ultimately future-proofing your app as business needs evolve.
- Advanced functionality You can integrate advanced features like personalized recommendations, custom product configurators, or unique checkout flows without relying on potentially conflicting third-party apps.
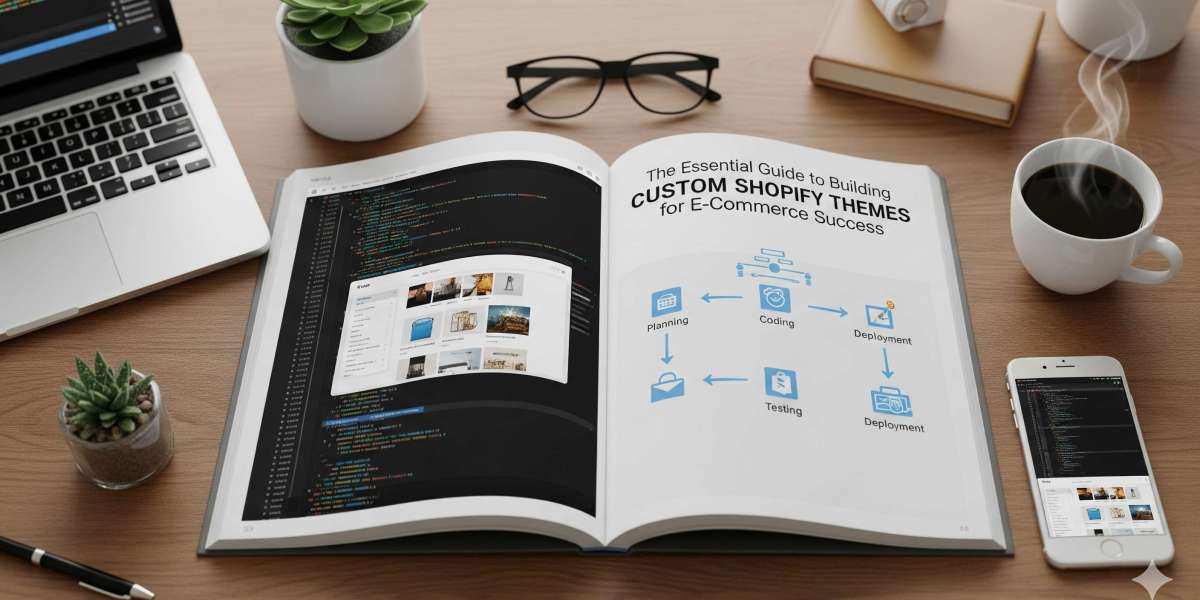
Step-by-step guide to custom theme development
Follow this process to build a high-performing custom Shopify theme:
1. Plan and define your goals
- Outline objectives: Define what you want to achieve, whether it's higher conversion rates, stronger brand recognition, or increased average order value.
- Conduct research: Analyze your target audience, identify your unique selling points, and study competitors for effective design patterns.
- Sketch the layout: Create wireframes for key pages like the homepage, product pages, and collections to visualize the user flow and arrangement of elements.
- Gather assets: Collect all necessary brand assets, including logos, images, and fonts, to ensure consistency throughout the design.
2. Set up your development environment
- Install Shopify CLI: Use the command line interface to simplify theme creation, management, and deployment tasks. You will also need Node.js installed.
- Create a Shopify Partner account: Sign up to access development stores, which allow you to build and test your theme in a safe environment without affecting a live store.
- Initialize a new theme: Open your terminal and run shopify theme init [theme-name] to create a new folder with the necessary theme files. Using a starter theme like Dawn is recommended for a solid foundation.
- Start a local development server: Run shopify theme serve to preview your changes in real-time on a local URL. This allows for quick testing and iteration.
3. Build your theme
- Master Liquid: Use Shopify's templating language to load dynamic store content. You will need to understand Liquid objects, tags, and filters.
- Structure with templates and sections:
- Layouts: The theme.liquid file controls the basic HTML structure shared across all pages, such as the header and footer.
- Templates: These define the structure for different page types, such as index.liquid for the homepage or product.liquid for product pages.
- Sections and blocks: Use reusable content blocks that can be added, removed, and rearranged by merchants in the Shopify admin using JSON templates for Online Store 2.0 functionality.
- Snippets: Break down complex code into smaller, reusable Liquid files that can be included in sections and templates.
- Style with CSS/Sass and JavaScript:
- CSS: Use stylesheets to control the visual presentation of your theme. You can edit the theme.scss.liquid file or use a framework like Tailwind CSS.
- JavaScript: Add interactivity and enhanced functionality using JavaScript, but prioritize native browser features to keep your theme lightweight and fast.
- Manage assets: Organize images, fonts, and other files in the assets folder. Use responsive images and compress them to improve page speed.
- Use version control: Implement a Git workflow with a platform like GitHub to track changes, collaborate, and back up your work throughout the development process.
4. Test, launch, and maintain
- Conduct comprehensive testing:
- Preview locally: Use shopify theme serve to test functionality on your development store before deploying.
- Cross-browser testing: Check how your theme looks and works on different browsers like Chrome, Firefox, and Safari.
- Mobile responsiveness: Ensure the theme is optimized for various mobile devices and screen sizes.
- Performance testing: Use tools like Lighthouse to analyze page speed and identify areas for optimization. The Shopify CLI also offers built-in performance checks.
- Quality assurance: Enlist fresh eyes, potentially from real users, to test for bugs and usability issues before launch.
- Deploy your theme:
- Push the theme: Use the command shopify theme push --unpublished to upload your theme to your Shopify admin as an unpublished draft for final review.
- Publish the theme: Once you're satisfied with the final checks, publish the theme from your Shopify admin to make it live.
- Maintain and update: Post-launch, monitor performance metrics, and plan for regular updates to ensure your theme remains secure, compatible with Shopify's latest features, and aligned with evolving e-commerce trends.