In this guide, we’ll unpack the real impact of the CO2 laser lens, break down how it affects output, and offer guidance on getting the most out of your laser setup.
Understanding the Role of the CO2 Laser Lens in Beam Precision
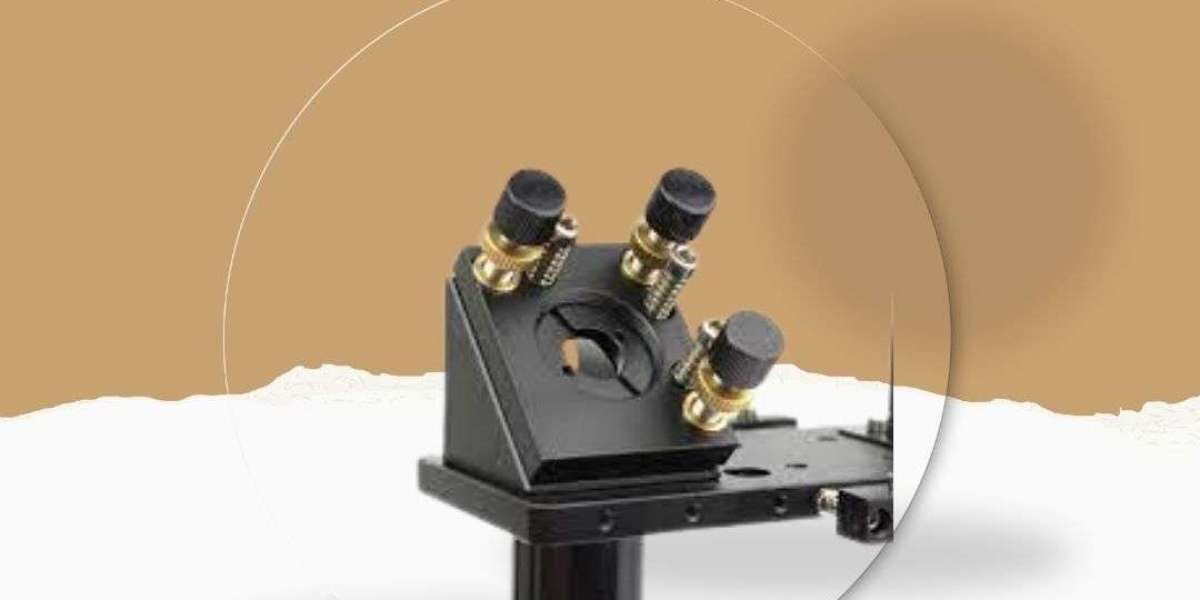
The CO2 laser lens is not just a passive optical element. It actively focuses the laser beam to a fine point, creating the intensity needed for engraving, cutting, or marking. Without this focusing, the laser beam would disperse over a larger area, significantly reducing its effectiveness.
A properly focused beam delivers cleaner edges, deeper cuts, and higher engraving accuracy. But the moment the lens becomes dirty, misaligned, or worn, every detail in your job suffers—regardless of how powerful your laser is.
Common Missteps That Affect Your CO2 Laser Lens Performance
Many users invest in expensive CO2 laser systems but fail to maintain or inspect the lens regularly. Here are areas where performance starts to drop:
1. Dirty Lens Syndrome
Over time, smoke, dust, and vaporized materials build up on the lens surface. Even a thin layer of residue can scatter the laser beam or reduce its intensity. This results in uneven engraving or the need for multiple passes to cut through materials that usually take one.
2. Incorrect Focal Length
Every CO2 laser lens is designed with a specific focal length. If you replace a lens with the wrong focal distance—or set your material height incorrectly—the beam won’t focus at the optimal spot. This causes blurred or shallow results.
3. Lens Damage and Micro-Fractures
CO2 laser lenses, especially those made of zinc selenide (ZnSe), are highly sensitive to scratches, thermal stress, or drops. Micro-fractures that aren’t visible to the eye can scatter the beam and create hotspots, which degrade cutting performance over time.
How to Identify If the CO2 Laser Lens Is the Problem
Think your laser’s issue is power loss? Check the lens first. Here are tell-tale signs that the CO2 laser lens might be at fault:
Inconsistent engraving depth across the workpiece.
Burnt edges even on materials that previously cut cleanly.
Visible smoke trails during operation.
Discoloration on the lens or strange reflection patterns when observed under light.
A good habit is to perform a lens inspection after every few hours of operation, especially when working with high-resin or smoky materials like MDF, acrylic, or leather.
Cleaning Your CO2 Laser Lens Without Risking Damage
Cleaning your lens isn’t just wiping it down. If done improperly, you can scratch it or ruin its coating.
Best practice:
Power off the machine and allow the lens to cool completely.
Use a lens cleaning tissue or swab—never regular cloth.
Apply a few drops of approved optical lens cleaning fluid.
Gently wipe in a circular motion without applying pressure.
Inspect under white light for streaks or residue.
Avoid using compressed air cans directly—they can blow debris onto the lens or introduce propellant residue.
Choosing the Right CO2 Laser Lens for Your Machine
There’s no universal lens that fits all systems. Factors to consider include:
Lens diameter (common sizes: 18mm, 20mm, 25mm)
Focal length (e.g., 1.5", 2", 2.5", 4")
Coating type (anti-reflective coatings for CO2 wavelengths)
A shorter focal length (1.5") offers finer detail for engraving, while longer ones (2.5" to 4") are better for cutting thicker materials.
Some high-performance applications benefit from meniscus lenses, which are curved on one side and reduce spherical aberration, improving beam convergence.
When Should You Replace a CO2 Laser Lens?
A degraded lens can be hard to detect, especially when wear builds up slowly over time. Set a routine maintenance schedule. Here’s a simple guide:
Every 2 weeks: Clean and inspect the lens.
Every 3-6 months: Consider replacing if:
Cleaning doesn’t restore performance
You see pitting, burns, or heavy haze
Laser output feels "weak" even after aligning mirrors
Budgeting for at least one spare lens is a smart move—downtime from a lens failure can cost far more than a replacement part.
CO2 Laser Lens and Material Compatibility
Not all materials interact the same way with laser beams. Some materials reflect heat back to the lens or generate more fumes. Here’s a breakdown:
Acrylic and Wood: Generate fumes; frequent cleaning needed.
Glass and Ceramics: Can reflect scattered light; ensure focal accuracy.
Leather and Fabrics: High in residue; clean more often.
Anodized Aluminum: Less residue, but requires sharp focus for clear marking.
Working with varying materials? You may benefit from having lenses of multiple focal lengths and switching them depending on the job’s precision or thickness requirement.
Storage and Handling Best Practices
Even when not in use, your CO2 laser lens is vulnerable. Follow these precautions:
Store in a dust-free case, ideally sealed.
Avoid touching the surface with bare fingers; use gloves or lens tweezers.
Keep it in a low-humidity environment to prevent coating degradation.
Label each lens by focal length to avoid confusion.
Final Thoughts
The CO2 laser lens is not just a passive part—it’s the precision heart of your laser’s output. If you're experiencing inconsistent quality, burned edges, or shallow engraving, don't rush to blame your software, power settings, or material choice. The real issue might be right in front of the beam.
By prioritizing regular lens care, proper handling, and using the correct focal length for the job, you can restore your laser’s peak performance without costly upgrades. Whether you’re cutting thick acrylic or engraving fine details on wood, treating your CO2 laser lens with respect ensures that every job is completed with clarity and precision—just the way it should be.