If you're planning to upgrade your outdoor space by installing green grass for lawn, you’re probably excited about the fresh look and low maintenance that artificial turf brings. But before you sit back and enjoy your new lawn, there’s one often-overlooked part of the job you need to manage: waste. From turf scraps and soil clumps to plastic wrapping and packaging, your project will generate more debris than you might expect. That’s where cheap plastic containers with lids come in handy—they help keep your workspace clean, your materials organized, and your disposal simple.
What to Expect During the Artificial Grass Installation
Before we get into cleanup tips, it helps to know what the installation process actually looks like. Here’s a quick breakdown of the steps:
- Clear the area – Remove grass, weeds, rocks, and debris.
- Level the ground – Smooth out dips and bumps for even coverage.
- Lay the base – Add a layer of crushed stone or gravel for drainage.
- Install a weed barrier – Prevent future weed growth under your turf.
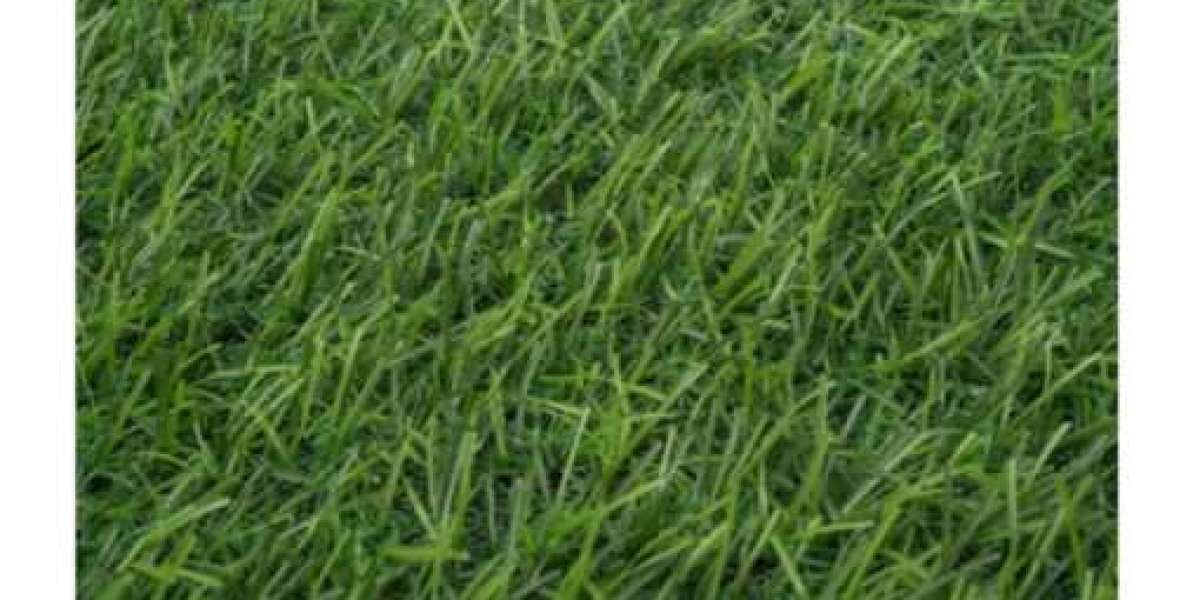
- Roll out the turf – Align and trim your artificial grass to fit.
- Secure the edges – Use landscape staples or adhesive to keep it in place.
- Add infill – Apply sand or rubber granules to stabilize the grass and help blades stand upright.
- Brush the grass – Groom it for a natural look and feel.
Each step generates waste—scraps of turf, soil, stone, packaging, and plastic—so having a strategy to manage it helps things go smoother and safer.
Why Use Cheap Plastic Containers with Lids?
You might think trash bags are enough, but when you're dealing with sharp offcuts, heavy soil, or tiny infill granules, cheap plastic containers with lids give you far more control and efficiency.
Here's how they help:
- Keep waste separated: Use one for turf scraps, another for packaging, and a third for soil or gravel.
- Avoid spillage: Snap-on lids keep debris contained, especially when moving from one spot to another.
- Stay mobile: Pick containers with handles or wheels to easily transport waste to your bin or truck.
- Reusable and durable: Unlike bags that tear or collapse, containers last beyond this one project—great for storage or future clean-ups.
These containers are a simple upgrade that can save you time, hassle, and a few extra trips to the trash can.
Picking the Right Containers for the Job
Not all plastic containers are created equal. When selecting cheap plastic containers with lids for your project, look for these key features:
- Size matters: For bigger projects, go with 27-gallon totes. For smaller or lighter materials, 10- to 15-gallon bins work fine.
- Material quality: Choose durable plastic that can handle outdoor use. Look for UV-resistant options if they’ll sit in the sun.
- Tight-fitting lids: You’ll need snug lids to prevent spills and protect contents from rain or pests.
- Handles or wheels: These features make moving the bins around much easier.
- Stackable design: Once you're done, stack and store them without taking up much space.
You’ll find affordable options at hardware stores, warehouse clubs, or online retailers like Amazon and Walmart.
Managing Common Waste Types
Each type of waste from your turf installation needs a different handling approach. Here’s a quick guide to help you stay organized:
1. Artificial Turf Remnants
Roll leftover turf pieces tightly and secure them with tape. Store them in a container to prevent them from unraveling or collecting dirt.
2. Packaging Materials
Flatten boxes and fold plastic wrapping to fit more into each bin. Group all recyclables together for easy drop-off later.
3. Soil and Natural Debris
Use containers with ventilation holes to reduce odors. If you’re composting, ensure the soil is clean and weed-free.
4. Infill Granules (Sand or Rubber)
Store these in sealed containers. Any spills are hard to clean and can be a slip hazard.
By organizing your waste this way, you make it easier to recycle, repurpose, or dispose of materials correctly.
FAQs
1. Do I need special containers for turf installation cleanup?
Not necessarily. Any sturdy, weather-resistant plastic bin will work, but cheap plastic containers with lids are ideal for their reusability and ability to keep waste secure.
2. What should I do with leftover artificial grass?
Contact your local recycling center to see if they accept synthetic turf. Some turf suppliers also offer take-back or recycling programs.
3. Can I compost the soil I remove during installation?
Yes, as long as it’s free from chemicals or non-organic debris. Compost bins with air holes work best to manage decomposition.
4. Are there alternatives to plastic containers for managing waste?
Yes, biodegradable bags or recycled-material bins are good eco-friendly options. Just be sure they’re strong enough to hold heavy or bulky waste.
5. How can I reduce waste during the project?
Plan ahead. Measure accurately, cut carefully, and keep usable scraps. Store leftover materials in your containers for patchwork or future projects.
Wrapping It Up
Installing green grass for lawn gives you a vibrant, low-maintenance yard—but like any home improvement job, it leaves behind a mess. Keeping that mess under control doesn’t have to be complicated. With cheap plastic containers with lids, you can stay organized, work more efficiently, and reduce your environmental impact.
These containers help you sort, store, and haul waste with ease—plus, they’re a smart investment for future projects around the house. A clean workspace is a safer, smoother one, and it makes your brand-new lawn that much more satisfying to admire once the job’s done.