

How Custom Patch Makers Create High-Detail Embroidery
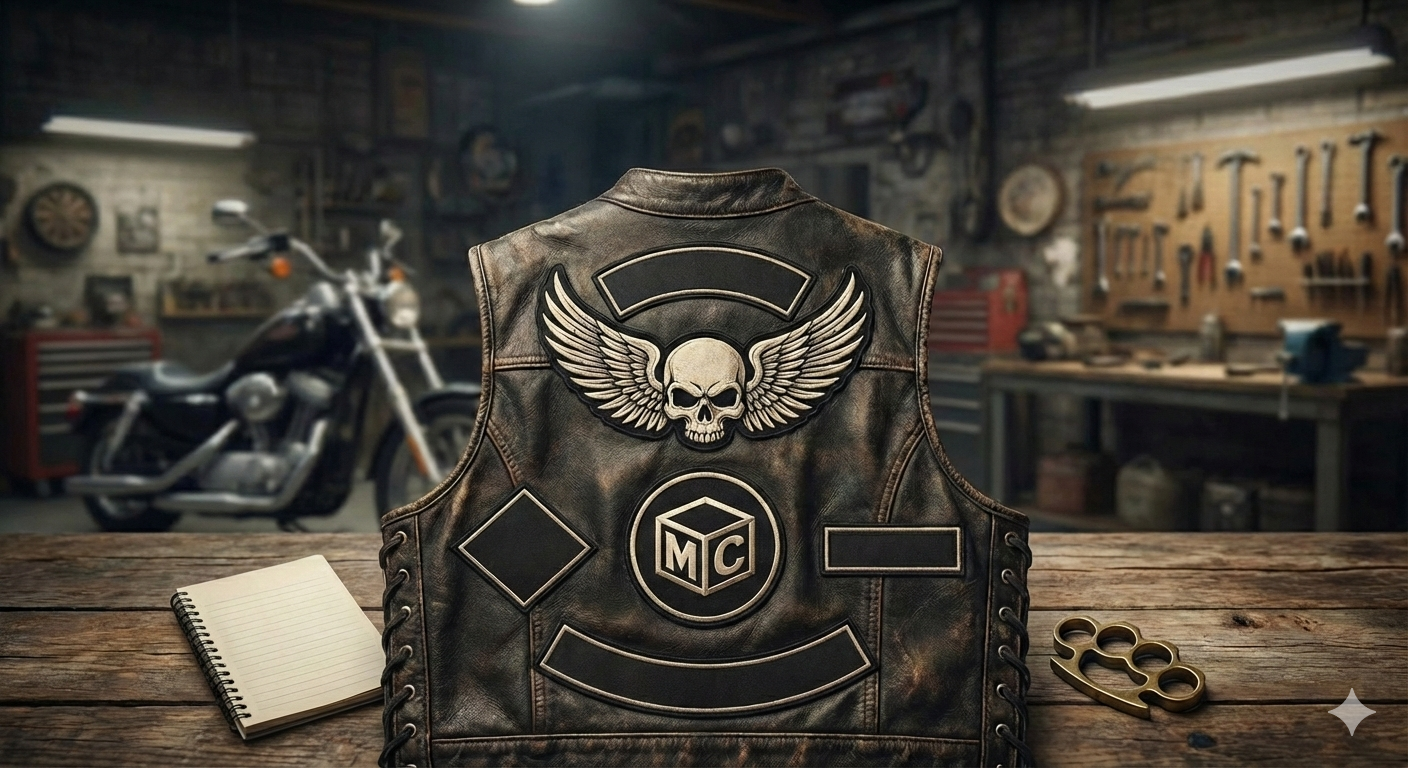
From military insignia and biker club emblems to fashion accents and corporate branding, custom embroidered patches are everywhere. But have you ever wondered how skilled makers bring those tiny details, intricate logos, fine lettering, and vibrant colors to life on a small fabric canvas?
High-detail embroidery is not an accident — it’s an intersection of design, technology, craftsmanship, and quality materials. In this blog, we’ll unpack the complete process: from concept and digitizing to materials, machine execution, finishing, and quality control. Along the way, we’ll highlight how brands like Customtoppe and the craft of Custom Leather patches in Italy exemplify excellence in high-resolution embroidery.
✨ What Is High-Detail Embroidery?
Before diving into production, it’s important to define what we mean by high-detail embroidery.
High-detail embroidery refers to patches where the design includes:
-
Fine lines and text
-
Complex shapes
-
Gradient shading
-
Small typefaces
-
Multiple intricate elements
These designs require extreme precision — far more than basic shapes and bold lettering. Achieving this fidelity demands not just powerful machinery but careful planning and expert execution.
🧵 Step 1: Concept & Artwork
Every great patch starts with a compelling design.
From Inspiration to Digital Art
The first step is collecting the client’s imagery, logo files, color guides, and ideas. Whether a business wants a bold embroidered logo or a collector is creating commemorative badges, this stage is about turning a concept into something workable.
Designers typically work with:
-
Vector files (.AI, .EPS, .SVG) — ideal for scaling without quality loss
-
High-resolution raster images — if vectors aren’t available
Accurate color matching is also essential, so brands like Customtoppe often reference thread color libraries (e.g., Pantone or proprietary swatches) to ensure the final embroidery mirrors the desired palette.
During concept development, designers must be mindful of embroidery limitations. For instance, extremely fine details can get lost if the design isn’t optimized for stitching. Too many tiny elements can lead to unintentional blur in the thread render.
💻 Step 2: Digitizing the Design
Once the artwork is ready, it enters one of the most technical phases: digitizing.
What Is Digitizing?
Digitizing is the process of converting artwork into a language that embroidery machines can understand. This involves breaking down the design into:
-
Stitch types
-
Stitch directions
-
Stitch sequence
-
Thread colors
-
Underlay patterns
Think of it as translating a picture into millions of tiny decisions about how the thread will travel across the fabric.
Why Digitizing Matters for Detail
Bad digitizing = poor results. Even with a perfect design file, if the digitizer doesn’t plan stitches correctly, the patch can end up:
-
Distorted
-
Puffy or bunched
-
Fuzzy
-
With broken lines or gaps
Highly skilled digitizers — like those used by Customtoppe — understand how to balance tension, stitch density, and thread behavior to preserve detail. They assign specific stitch types (satin, tatami, running stitches) based on what each portion of the design demands.
For example:
-
Tiny text often uses tightly tuned running stitches
-
Shading and gradients might involve layered fills with directional changes
-
Borders and outlines often use satin stitching for prominent edges
This phase alone can take hours of adjustment, testing, and refinement — especially for designs with lots of detail.
🧰 Step 3: Material Selection
Great embroidery isn’t just about the needle and thread. The underlying material — substrate — plays a dramatic role.
Fabric Choices
For embroidered patches, common base materials include:
-
Twill fabric: A classic choice that’s sturdy and takes stitches well
-
Canvas: Offers a rugged feel with excellent thread stability
-
Felt: Traditional for badge-style emblems
-
Leather: A premium surface — especially when making Custom Leather patches in Italy
Each material interacts differently with thread. Leather, for instance, doesn’t absorb thread the way cloth does, so tension and backing choices must be precise. Italian leather craftsmen have a long heritage of combining artisanal skills with embroidery to produce durable, high-detail patches that look beautiful on jackets, bags, and apparel.
Thread Quality
Threads come in many varieties:
-
Rayon threads: Vibrant sheen, smooth finish
-
Polyester threads: Strong, colorfast, durable
-
Metallic threads: For decorative glint
High-detail embroidery benefits from premium threads that don’t fray, break, or distort under tension.
Backing Materials
Backing is placed behind the patch during stitching to support the fabric and prevent warping. Common options:
-
Stabilizers: Wash-away or tear-away sheets
-
Heat-seal backing: Adds iron-on capability
-
Plastic backing: Durable, ideal for structured patches
The correct backing choice reinforces the patch and ensures clean edges and flat stitching.
🤖 Step 4: Machine Setup & Calibration
Once digitizing and materials are ready, it’s time for production.
High-Precision Embroidery Machines
Creators of high-detail patches use advanced multi-needle embroidery machines capable of:
-
Fine pitch stitching
-
Multiple color changes
-
High speed with accuracy
-
Large embroidery fields
Brands like Tajima, Barudan, and ZSK are staples in the industry. These commercial machines allow intricate designs to be stitched with minimal distortion.
Calibration
Before the run starts, machines are calibrated for:
-
Thread tension
-
Needle type and size
-
Hoop size and grip
-
Speed settings
Testing at this stage prevents costly errors during full production. Even slight mis-tension can pull stitches out of alignment, blurring detail or warping design edges.
🎛 Step 5: Stitching — The Heart of the Process
Now we get to the moment the design becomes real — stitching.
How Machines Work
Automated embroidery machines read the digitized file and move the hoop under stationary needles in a programmed sequence. The machine:
-
Picks the correct thread for each segment
-
Switches needles/colors as needed
-
Follows the stitch path defined by the digitizer
-
Repeats until the design is finished
Managing Multiple Colors & Details
With high-detail designs, there may be dozens of color changes. Each thread transition must be executed without interrupting the flow or creating loose threads that ruin the finish.
In complex multi-layered designs, the machine may embroider:
-
First, background fills
-
Then midground elements
-
Finally, foreground details and outlines
Sequencing ensures proper layering and avoids thread crowding.
Dealing With Small Text & Fine Lines
Tiny typefaces pose challenges for embroidery because each stitch has a physical width. To make letters legible:
-
Digitizers reduce stitch width carefully
-
Running stitches may replace heavier fills
-
Spacing adjustments prevent blotting
Only experienced digitizers understand how to balance thread density and stitch count to keep text crisp.
✂️ Step 6: Finishing Touches
Stitching may be complete, but the patch isn’t ready for use just yet.
Trimming & Cutting
Once embroidery is done, patches are removed from the machine and excess fabric is trimmed. Some common techniques:
-
Laser cutting: Extremely precise, ideal for detailed shapes
-
Hot-knife cutting: Seals edges to prevent fraying
-
Manual trimming: For artisanal or handcrafted finishes
Laser cutting is particularly useful for highly detailed patches where every contour matters.
Backing Application
If the patch requires a specific backing like iron-on adhesive or velcro, it’s applied after trimming. This transforms the patch into something easily wearable or attachable.
Edge Finishing
To prevent unraveling and add a polished look, edges can receive:
-
Merrowed borders: Traditional stitched edge
-
Heat/laser sealed borders: Clean, modern finish
Merrowed borders are common on classic embroidered patches, while sharp and minimal edges may use laser sealing.
🧪 Step 7: Quality Control
With everything stitched and finished, quality control (QC) ensures the final product meets expectations.
What QC Checks For
Good QC examines:
-
Color accuracy
-
Stitch quality and tension
-
Edge crispness
-
Alignment of design
-
Cleanliness and absence of stray threads
-
Backside neatness
High-detail patches require especially rigorous QC because small flaws are more noticeable.
Brands that focus on excellence — such as Customtoppe — implement multiple inspection points. Each patch may be examined individually and compared against digital proofs to guarantee fidelity.
🧵 The Art & Craft Behind Custom Leather Patches in Italy
When embroidery meets premium leather, the result is luxury. Custom Leather patches in Italy are a perfect example of combining heritage craftsmanship with modern embroidery techniques.
Why Leather Is Special
Leather isn’t just a fabric; it’s a tactile, variable surface. Each hide can differ in texture, thickness, and grain. This unpredictability requires:
-
Careful selection of hides
-
Special needle types
-
Slower stitching speeds
-
Expert handling to avoid puncture damage
Italian artisans have centuries of experience working with leather, whether for fashion accessories, automotive interiors, or bespoke patches.
Embroidery on Leather
Embroidery on leather requires special digitizing and backing techniques. Unlike fabric, leather can’t tolerate heavy underlay or excess perforations, so the design must be optimized to:
-
Maintain structural integrity
-
Avoid holes that weaken the surface
-
Keep threads secure without puckering the hide
The result is a patch that not only looks detailed but feels rich and premium — perfect for high-end garments, luxury branding, or artisan goods.
🤝 Working With Custom Patch Makers
If you’re interested in ordering high-detail embroidered patches, here’s how to make the process smooth:
Provide Clear Artwork
-
Vector files are best
-
Include exact brand colors
-
Show orientation and intended placement
Talk About Usage
-
Will the patch go on uniforms?
-
Outdoor gear?
-
Leather jackets?
-
Bags?
Knowing the application helps material and thread decisions.
Ask About Proofs
Reputable makers will provide:
-
Digital mockups
-
Stitch previews
-
Physical samples (optional)
This minimizes surprises.
Understand Turnaround Times
High-detail embroidery takes longer than simple designs. Digitizing, sampling, and QC all add time — but the results are worth it.
Brands like Customtoppe often work with clients to balance urgency, detail, and budget without compromising quality.
🎯 Final Thoughts: The Magic Behind the Stitches
High-detail embroidery isn’t simply about stitching thread into fabric. It’s a composite craft involving:
-
Artistic design and precise digitizing
-
Smart material choices
-
High-end embroidery machines
-
Skilled craftsmen
-
Rigorous quality checks
Whether you’re creating custom embroidered patches for your brand, club, or clothing line — or seeking one-of-a-kind Custom Leather patches in Italy — understanding this process helps you appreciate the craft and communicate effectively with makers.
Every great patch tells a story — and now, you know exactly how that story is woven one stitch at a time.